

Build IQ / Comfort IQ / Energy IQ
Window and door flashing: give rain a way out
Understand sill pans, flashing tapes and overlapping layers so you can ask better questions about hidden water protection.
Our articles are a starting point, not a professional assessment of your home.
DraftA work in progress, prepared by the HouseIQ.pro team.Editorial and professional review are not yet complete.
Follow the water from the wall above
Cladding such as siding or masonry is the first rain-shedding surface, but some water can pass its joints. Behind it, the water-resistive barrier, or WRB, provides another route down and out. At a window or door, that route meets flashing. The opening cannot be evaluated sensibly without understanding which wall layer receives water and where that layer releases it.
Ask to see the proposed detail in a wall cross-section. Identify the cladding, drainage space, WRB, opening and interior finish. Then ask the installer to trace the water path with a finger. That small exercise makes a vague phrase such as “fully flashed” much more concrete. A tidy square of tape around a frame is not proof that it connects to the surrounding wall's drainage system.
Shingle-lap means the upper layer sheds onto the lower
Imagine the overlapping arrangement of roof shingles, applied to the wall's water-control layers. In a typical flanged-window detail with house wrap, water descending from above meets head flashing; the side flashings connect with protection at the sill; and the sill protection discharges over the drainage layer below. The upper layer lies to the weather side of the receiving lower layer, so gravity carries water onward instead of behind the protection.
A reverse lap sends water behind the layer that should receive it. This is a principle for reading a drawing, not a universal sequence for every window. Taped sheathing, liquid-applied systems, masonry openings and different window profiles use different approved transitions. Ask for the actual manufacturer's detail and an explanation of any adaptation to your house; overlap dimensions and sealing locations should come from that design.
A sill pan is a collection and drainage detail
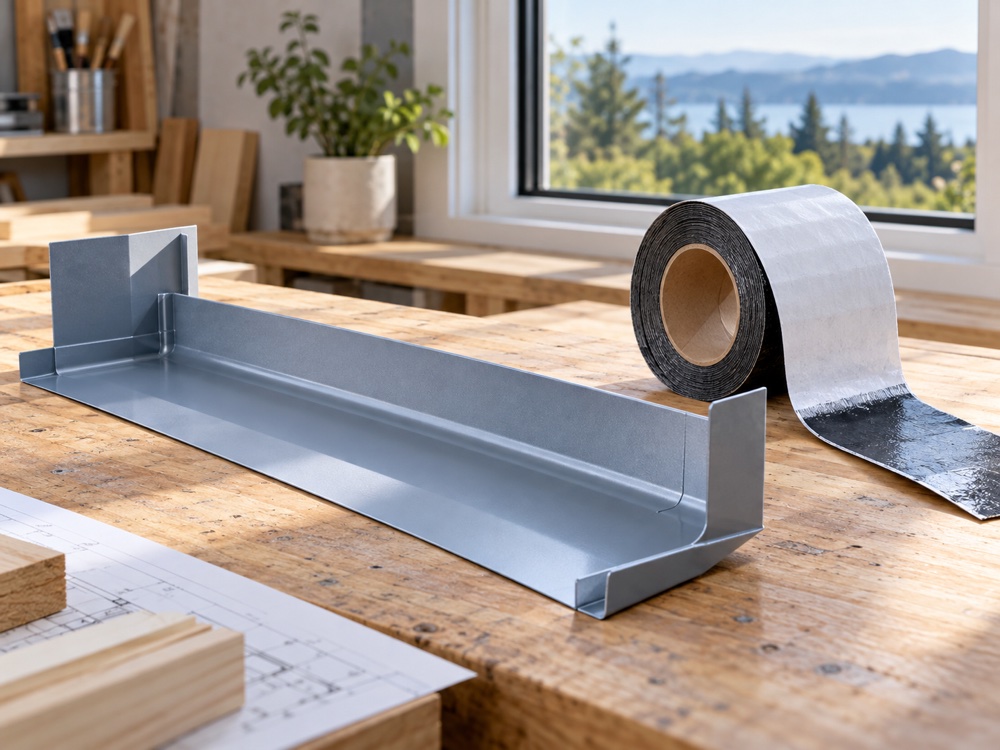
The sill is the bottom of the rough opening. A sill pan protects this vulnerable area by collecting small amounts of leakage and directing them outward. It may be manufactured or formed from an appropriate membrane, metal or liquid-applied system. Its usefulness depends on continuity through corners, control of sideways and inward escape, and a connection to the receiving drainage layer.
A pan that collects water but cannot release it has lost its purpose. Likewise, an outlet that empties behind the WRB can wet the wall below. Ask where the pan drains and how later trim or sealant work will preserve that path. Do not interpret this as permission to remove sealant or modify a window's drainage openings: the opening and the window unit can have distinct drainage provisions that the installer must coordinate.
Sources: [6]
Self-adhered tape depends on the surface and the system
Flashing tape combines a water-resisting layer with an adhesive bond. That bond matters as much as the material you can see. A tape selected for one substrate is not automatically suitable for every house wrap, frame coating, sealant or masonry surface. Product identity and compatibility belong in the specification, along with how the installer will confirm that the substrate is suitable.
For a specific example, Huber describes ZIP System flashing tape as using a pressure-activated acrylic adhesive. Its current installation manual calls for dry, clean panel surfaces and roller pressure. Those requirements illustrate why casually sticking tape onto a dusty opening is not equivalent to a designed connection. They are requirements for that system, not instructions to apply its tape indiscriminately to other assemblies.
Tape, metal and sealant may have different jobs
The best proposal names the function of each material. A membrane can connect adjoining surfaces; a rigid head flashing can shed water beyond a trim joint; sealant can close a specified joint. None of those descriptions means one material replaces every other part. In particular, Huber's manual says its flashing tape is not a replacement for rigid, metal or through-wall flashings prescribed by others.
That distinction is useful when a quote says only “tape and caulk included.” Ask which details remain hidden after finishing and which exposed joints will need maintenance. Compare the entire opening treatment between quotes, including the existing wall connection. A longer warranty or a familiar brand name should not stand in for an explanation of what the contractor actually intends to build.
Water drainage and draft control work together
An air barrier controls air flowing through connected gaps under pressure. It is a system of materials and joints, so the connection from the wall to the window or door matters. Flashing primarily handles water; some products can also form part of an air barrier, but only with the required continuity. Seeing flashing tape does not establish that the whole opening is airtight.
In a drained opening, outward water release and a continuous interior perimeter air seal can coexist. This is why “seal every visible gap” is a poor general instruction. Ask the installer to distinguish the drainage outlet from the air-control connection on the drawing. In cold Canadian weather, escaping indoor air can carry moisture toward cold surfaces; in warm, humid weather, incoming air can also create moisture concerns around cooled assemblies.
Exposure matters from Canada to Florida
The basic aim of shedding rain remains the same across climates. The exposure changes: an opening beneath a generous porch roof has a different rain load from an unprotected opening on a windward wall. Overhangs can reduce wetting, but they do not remove the need to consider the opening's connections. Ask the designer to explain the particular elevation and surrounding roof drainage, not just the postal code.
For Florida and other storm-exposed locations, discuss wind-driven rain as well as the window or door's structural and impact requirements. Water resistance and strength are separate questions; flashing does not establish an impact rating. A product that remains intact can still admit water during severe weather. Site-specific product selection, anchorage and enclosure detailing need qualified local assessment rather than a generic tape pattern.
An existing leak needs a diagnosis before a finish repair
A stain near a window does not, by itself, identify the entry point. An assessment should consider the sill, wall and roof water paths, as well as condensation. Record when the problem appears, which weather preceded it, and whether it changes with indoor humidity. Photos and a short history give the professional useful evidence without requiring you to open the wall.
A replacement quote should say whether it retains the old frame and trim or exposes the rough opening for assessment and new water-management work. Those are different scopes. If investigation reveals deteriorated framing, moisture damage or materials requiring special handling, the repair plan needs to address them before the opening is closed again. Covering a damaged sill with a new product does not correct the underlying cause.
Ask for evidence while the work is still visible
Agree on an inspection or documentation point before the flashing disappears behind cladding and trim. Ask for photographs of the sill corners, head transition, side connections and the route into the surrounding drainage plane. Have the contractor identify the products and applicable instructions in the project record. Photos help explain the work, although they cannot verify every bond, concealed condition or performance requirement.
A useful handover also identifies the person responsible for the opening details and the exposed joints that need future inspection. Where leakage or unusual exposure warrants testing, let the enclosure professional specify the method and interpret it. Your role can be to ask how the water leaves, how the air seal connects, and what evidence shows the agreed scope was completed.
Questions worth taking with you
- Which layer is the drainage plane, and where does water from the opening leave the wall?
- What sill-pan detail and corner treatment suit this exact window or door?
- How will the head and side flashings connect with the existing WRB without reverse laps?
- Which products are compatible, and what preparation and application conditions do their instructions require?
- What remains exposed for inspection before finishing, and who documents concealed conditions?
Sources
- Natural Resources Canada Keeping the Heat In — Section 8: Upgrading windows and exterior doors
- U.S. Department of Energy / Pacific Northwest National Laboratory Windows and Doors are Fully Flashed
- Building Science Corporation · Joseph Lstiburek BSD-105: Understanding Drainage Planes
- U.S. Department of Energy / Pacific Northwest National Laboratory Drainage Plane Behind Exterior Wall Cladding
- Building Science Corporation · Joseph Lstiburek GM-0602: READ THIS: Before You Design, Build or Renovate
- Building Science Corporation Info-302: Pan Flashing for Exterior Wall Openings
- Huber Engineered Woods ZIP System Sheathing and Tape Installation Manual
- Building Science Corporation · John Straube BSD-014: Air Flow Control in Buildings
- U.S. Department of Energy / Pacific Northwest National Laboratory Pre-Retrofit Assessment of Walls, Windows, and Doors